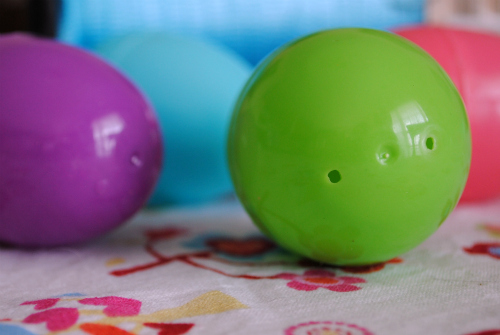
Here are the easy peasy steps:
- Cut a length of string; I went with about nine feet.
- Thread the string through the needle.
- Separate the egg halves and thread them onto the string, reassembling the eggs after you have them positioned on the string. Repeat until you run out of eggs.
The whole thing cost me two dollars to make and took approximately fifteen to twenty minutes to assemble, which was exactly how long Sammy decided to nap yesterday afternoon (don't get me started). And while I may be too late for Easter this year, I've definitely got a great head start for next year's decorations, and at a bargain basement price, too.


that is darling and actually got me thinking that next year when I offer my children's easter portraits indoors that would be a great prop for my studio!! THanks!!
ReplyDeleteToo cute, although it looks like Kitty thinks it's a new cat toy. How long before those eggs are scrambled?
ReplyDeleteThat's such a simple idea, but such a GOOD one! Thanks for taking the time to share. :)
ReplyDeleteSo, where was this idea at our last crafting, er, wine-drinking get-together??
ReplyDeleteThat is great! How fun would that be for photos!?
ReplyDeleteSo cute!
ReplyDeletelove love love it!
ReplyDelete